Address
8-9 Marino Mart, Fairview, Dublin 3, D03 EK81, Ireland
Contact
[email protected]

How to create a Sage 50 Accounts ODBC Excel connection with your Accounting Insights connector for Sage 50 Accounts. This has a number of advantages over using the standard facilities offered by Sage 50 Accounts:
There are two scenarios covered in this article: the first where you have the Sage 50 Accounts connector and Excel running on the same machine, and the second where the two are on separate machines (for example you have the connector running on your Sage server and Excel running on a local machine).
Before you do either option, the first thing that you will need to do is to make sure that you have the PowerQuery for Excel add-in installed. Open up Excel, and if it displays a “Data” tab with the option for a “New Query”, then you already have PowerQuery for Excel installed.
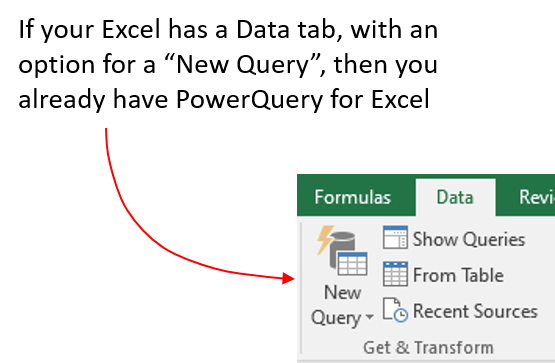
If you don’t already have PowerQuery for Excel, you can download it from this Microsoft download page.
This is a very simple scenario. In the background your Accounting Insights connector for Sage 50 Accounts has created a DSN (Data Source Name) for each of your connected Sage 50 companies. To connect to a particular company, all you need to do is select New Query > From Other Data Sources > From ODBC, as shown in the image below.
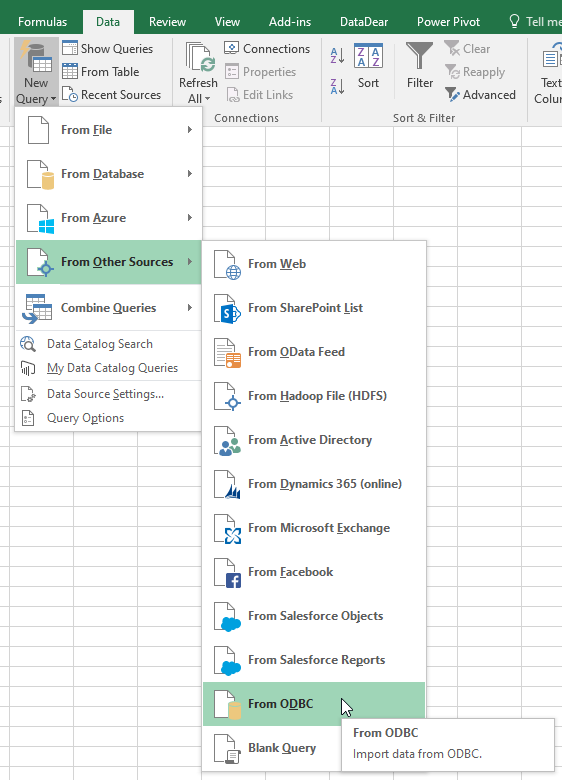
You will be prompted to select the DSN that you would like to connect to:
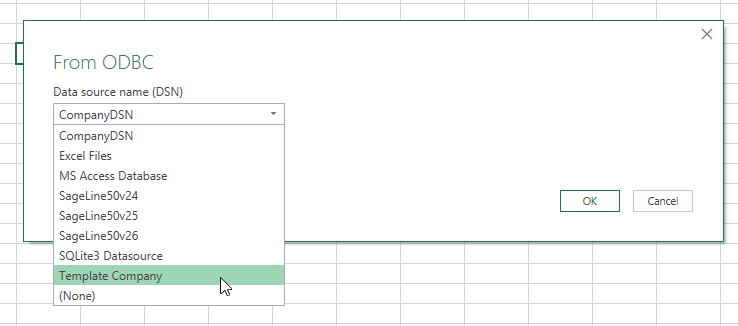
Simply select your company DSN to connect. Avoid the temptation to connect to SageLine50v26 or SQLite3 Datasource. These are not the DSN’s created by your connector.
You will be prompted to enter a username and password:
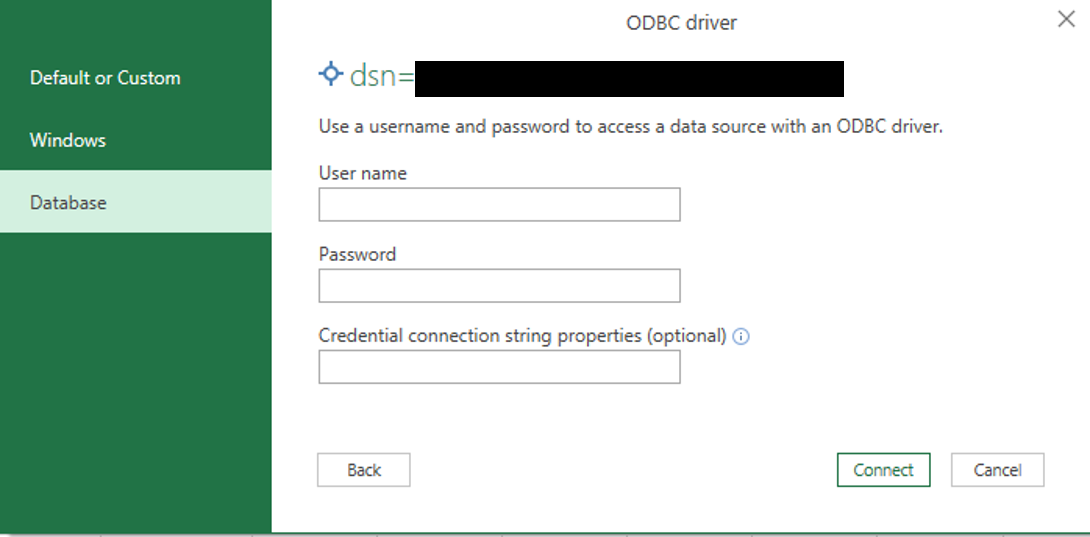
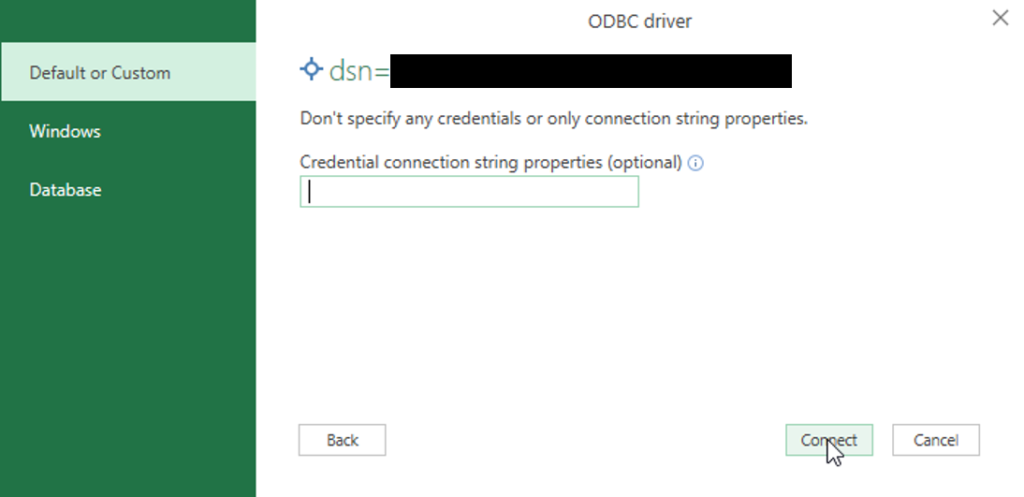
Select “Default or Custom”, don’t enter anything into the connection string parameters, and select “Connect”.
Excel PowerQuery will then prompt you to select which table you would like to load into Excel.
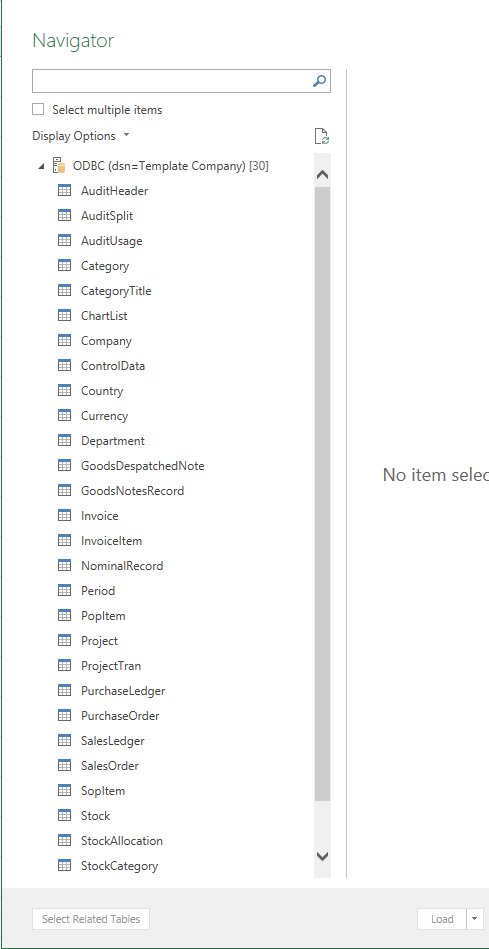
You can see a full list of tables available in this article.
Unlike in Power BI, where you can select multiple tables at once, in Excel PowerQuery you need to do this one at a time. Each table loaded will create a table in its own tab in your workbook.
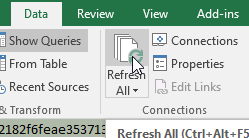
Once you have established all of your connections, though, you can simply refresh them all using the “Refresh All” button in the Data tab.
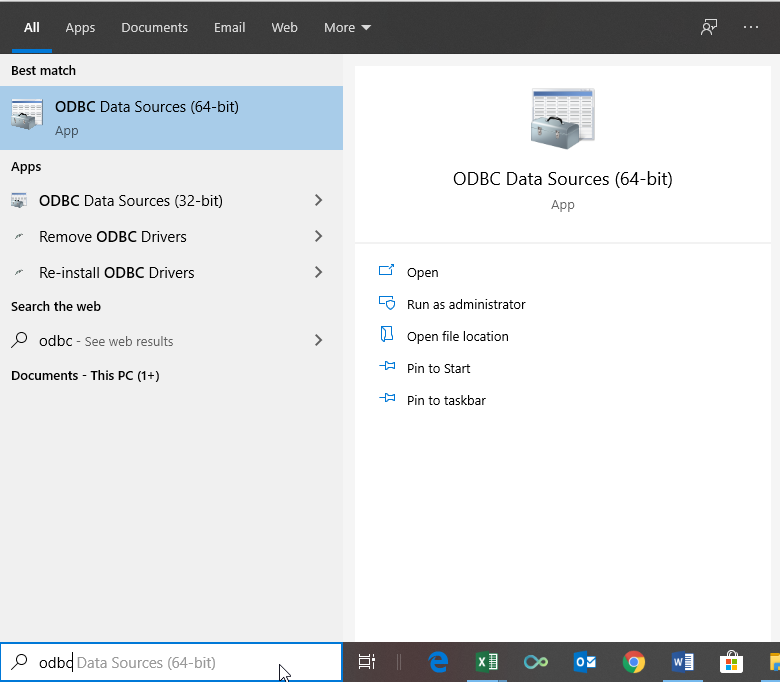
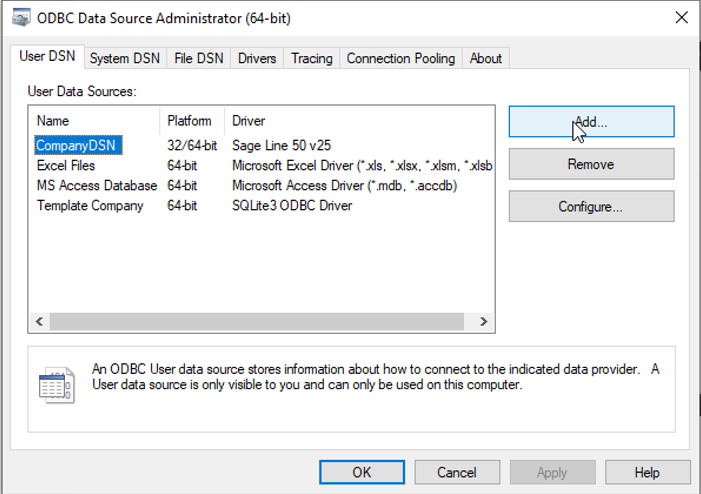
The DSN that the Sage 50 Accounts connector creates is local to the machine on which the connector is installed. We, therefore, need to do something else if we are using Excel on a different machine. We need to define a new DSN on the machine that has Excel. This is straightforward enough, but a little less intuitive.
You will need to do the following:
